

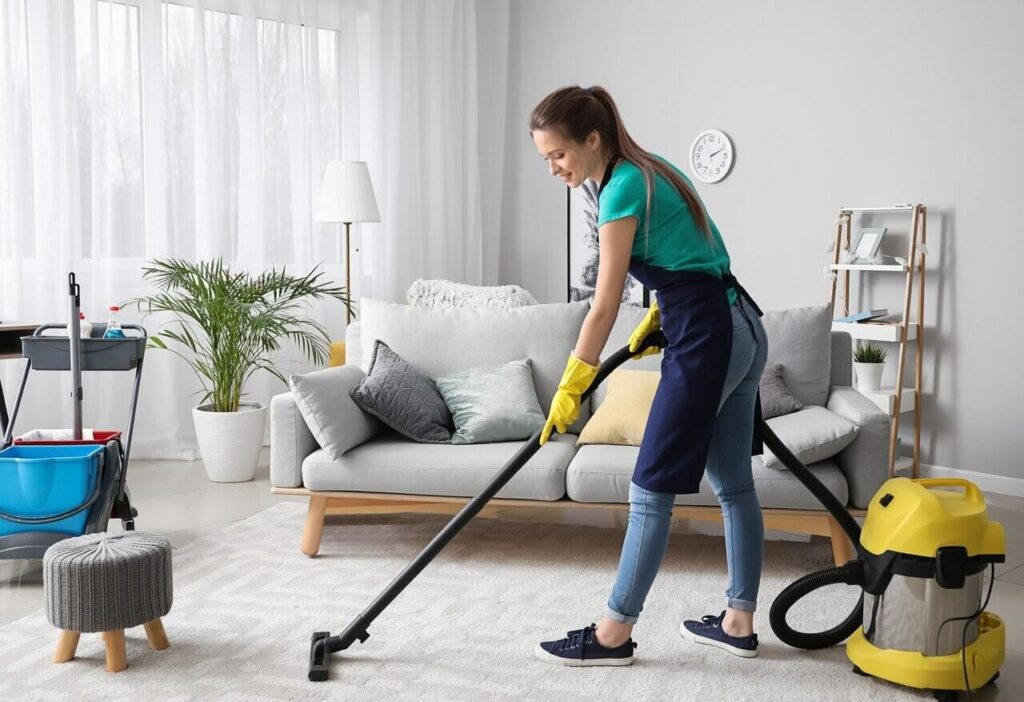
Moving into a new home marks the beginning of an exciting chapter, but it also presents a brief, critical window of opportunity. Before furniture fills the rooms, boxes stack against the walls, and rugs cover the floors, you have complete access to every nook and cranny of the property. Cleaning a home while it is entirely empty is exponentially easier and more effective than trying to maneuver around heavy furniture later.
Taking the time to deep clean your new space guarantees that you start fresh in a truly sanitary environment. Whether you are stepping into a brand-new build, a recently renovated space, or a pre-owned property, a systematic approach ensures no surface gets overlooked. By following a strategic, top-to-bottom cleaning plan, you can transform your new house or apartment into a pristine, welcoming home.
Assembling Your Move-In Cleaning Supply Kit
Before setting foot in the new space, assemble all necessary cleaning supplies in a portable caddy or plastic tote. Having everything organized beforehand prevents unnecessary trips to the store mid-clean and keeps momentum going.
-
Essential Hardware: Microfiber cloths, non-abrasive scrubbing sponges, a vacuum with attachment hoses, a broom and dustpan, a heavy-duty mop, a bucket, and a extendable duster.
-
Specialized Tools: A squeegee for glass surfaces, a stiff-bristled detail brush or old toothbrush for grout lines, razor blades for scraping adhesive residues off glass, and a step ladder for reaching high fixtures.
-
Cleaning Agents: An all-purpose disinfectant cleaner, glass cleaner, wood-safe floor cleaner, tub and tile bathroom cleaner, degreaser for the kitchen, baking soda, white distilled vinegar, and dish soap.
-
Personal Protection: Heavy-duty rubber gloves, knee pads for floor work, and a dust mask to protect your lungs from airborne dust and allergens.
Strategic Top-to-Bottom Order of Operations
The golden rule of professional house cleaning is working from top to bottom and from the furthest corner toward the exit. Starting high ensures that any dust, dirt, or debris dislodged from ceiling fans or light fixtures falls onto dirty lower surfaces that you have not yet cleaned.
Begin by removing cobwebs from high corners and dusting crown molding. Dust the tops of door frames, window casings, and high shelving. Move down to light fixtures, ceiling fan blades, and wall-mounted sconces. Once high surfaces are clean, move to mid-level areas such as walls, light switches, cabinet exteriors, and window sills. End the process with baseboards, floors, and entryways.
Clearing High Surfaces, Walls, and Windows
Dust accumulates on high ledges and vertical surfaces that previous occupants often ignored during daily routines.
Dust light fixtures and fan blades thoroughly using a damp microfiber cloth to prevent loose dust from drifting across the room. Disassemble glass light globes if necessary, wash them in warm soapy water, dry them completely, and reattach them.
Walls collect scuffs, oils, and airborne film over time. Spot-clean high-traffic wall areas, particularly around light switch plates, door handles, and narrow hallways. Use a mild solution of warm water and a few drops of dish soap applied with a soft sponge, testing a small hidden spot first to ensure the paint finish remains undamaged. Wash baseboards with a damp cloth, paying extra attention to the top edge where dust settles heavily.
Clean interior windows, window frames, and sills. Wipe down the window tracks using an old toothbrush to dislodge trapped dirt, then vacuum out the remaining debris. Finish glass surfaces with a streak-free glass cleaner and a fresh microfiber cloth or squeegee.
Deep Cleaning the Kitchen and Appliances
The kitchen requires meticulous attention because it handles food preparation and tends to accumulate grease, food spills, and hidden grime inside appliances.
-
Refrigerators and Freezers: Unplug the unit before cleaning. Remove all shelves, crisping drawers, and side bins. Wash them in warm, soapy water and dry them completely. Wipe down internal walls, seals, and gaskets with a gentle mixture of warm water and baking soda to neutralize residual odors. Clean the back coils and top exterior of the unit, where thick dust layers often settle.
-
Ovens and Stoves: Apply an oven cleaner or a thick baking soda and water paste to the interior walls and base of the oven, allowing it to sit and lift baked-on grease. Clean oven racks thoroughly in the sink or tub. Degrease the stove hood, clean or replace the grease filter, and wipe down the cooktop surface and knobs.
-
Cabinets and Countertops: Vacuum out cabinet interiors, drawers, and shelving to clear away crumbs and dust before wiping down interior surfaces with a damp cloth. Disinfect all countertops, backsplashes, and cabinet faces, paying special attention to areas around handles where hand oils gather.
-
Dishwashers and Sinks: Remove and rinse the dishwasher filter at the bottom of the basin. Run an empty hot cycle with a bowl of white vinegar placed on the top rack to dissolve mineral buildup and clear lingering smells. Scrub the kitchen sink, faucet, and drain opening with a disinfectant cleaner.
Sanitizing Bathrooms from Top to Bottom
Bathrooms require rigorous disinfection to ensure a completely sanitary baseline for your household.
Begin by applying cleaner to the toilet, tub, and shower surfaces, letting the solution sit for ten to fifteen minutes to break down soap scum, lime scale, and bacteria.
Scrub shower tiles, glass doors, and grout lines thoroughly. If mold or mildew is present in silicone caulk lines, treat it with a targeted mold cleaner or consider scraping out damaged caulk and applying fresh, mildew-resistant silicone caulk. Wash showerheads by tying a plastic bag filled with white vinegar around the fixture overnight to dissolve mineral clogs and restore water flow.
Scrub the toilet inside and out, paying close attention to the base bolts, behind the porcelain bowl, and the seat hinges. Wipe down vanity counters, clean mirror surfaces, and sanitize sink basins and pop-up drains. Finish by wiping down medicine cabinets and linen closet shelves.
Mastering Floors and Entryway Foundations
Floors collect all dust and cleaning residue generated during the move-in clean, making them the absolute final step in every room.
Vacuum all hard floors thoroughly using a floor attachment to pull dirt out from wall edges and corner cracks before mopping. On hardwood floors, use a specialized wood cleaner applied with a damp mop, taking care not to saturate the wood with excessive water. On tile, vinyl, or laminate flooring, use an appropriate multi-surface cleaner, working backward toward the doorway so you do not step on damp surfaces.
For carpeted rooms, perform a deep vacuuming pass in multiple directions. If the home was previously occupied by pets or smokers, rent a commercial carpet steam extractor or hire professional carpet cleaners to extract deep-seated allergens, dander, and trapped odors before setting up beds or heavy furniture.
Frequently Asked Questions
Should I clean the new space myself or hire a professional cleaning service?
Deciding between self-cleaning and professional service depends on your budget, available time, and the initial condition of the property. Professional move-in cleaning services bring industrial equipment and specialized teams, saving you significant physical effort during an already hectic move. However, cleaning the space yourself gives you complete oversight of every room, saves money, and allows you to inspect the home for any minor repair needs before settling in.
How do I eliminate stubborn lingering odors from previous occupants?
Lingering odors usually stem from trapped organic matter in carpets, soft materials, or air ducts. Start by running an air purifier equipped with a HEPA filter and an activated carbon stage. Place bowls of baking soda or active charcoal around rooms to absorb ambient smells. If odors persist in walls, washing the paint surfaces with a diluted vinegar solution or repainting with an odor-blocking primer often solves the problem.
What should I do if I find pest droppings or insect activity during move-in cleaning?
If you discover signs of pests during your initial walk-through, pause deep cleaning in those specific areas and document the evidence with photos. Vacuum up droppings using a vacuum equipped with a HEPA filter, then immediately seal and dispose of the vacuum bag outside. Sanitize the affected surfaces with a strong disinfectant cleaner and contact a licensed pest control professional before moving food supplies or personal belongings into the space.
How far in advance of move-in day should I schedule the deep clean?
The ideal timing for a move-in clean is one to two days before your moving truck arrives. Cleaning during this window ensures the space remains fresh while giving you buffer time to complete any necessary touch-up painting or minor repairs while the rooms are entirely clear of furniture.
Do I need to clean the HVAC vents and furnace filters before moving in?
Replacing furnace and AC air filters is one of the most effective move-in steps you can take. Construction dust, pet dander, and pollen often collect inside ductwork and filters. Replacing filters immediately prevents old allergens from circulating through your newly cleaned space. If the home has undergone major renovations or has not been occupied for years, consider hiring a duct cleaning professional.
How do I handle cleaning gross or sticky residue left inside built-in drawers?
Sticky drawer residues are often caused by old adhesive shelf liners or spilled pantry goods. Apply a small amount of warm soapy water or a dedicated adhesive remover directly to the sticky patch and let it sit for five minutes to soften the residue. Gently lift the residue using a plastic putty knife or scraper to avoid scratching the drawer interior, then wipe the wood clean and let it air dry completely.
What order should I follow if I am painting walls and cleaning the house at the same time?
Always complete any wall painting, drywall repairs, or ceiling touch-ups before executing your final move-in clean. Painting generates dust from sanding and creates paint drips or splatters. Completing all painting projects first ensures that you can clean up sanding dust, drop cloth debris, and paint overspray in a single thorough session afterward.